Knitting and the Metric System

The United States is one of the remaining few countries that haven’t fully switched over to the Metric system, but with modern globalization, I believe it will only be a matter of time before that happens. In a lot of ways, I think the Metric system makes more sense, but I also know a full conversion would be difficult to say the least. I don’t think in meters or grams, and I don’t think many other people in the United States do either. At the same time, I constantly have to look up how many cups are in a gallon or how many ounces are in a cup, so I understand why this conversion is needed.  With the metric system, all of those conversions are much simpler because everything is based on factors of 10.


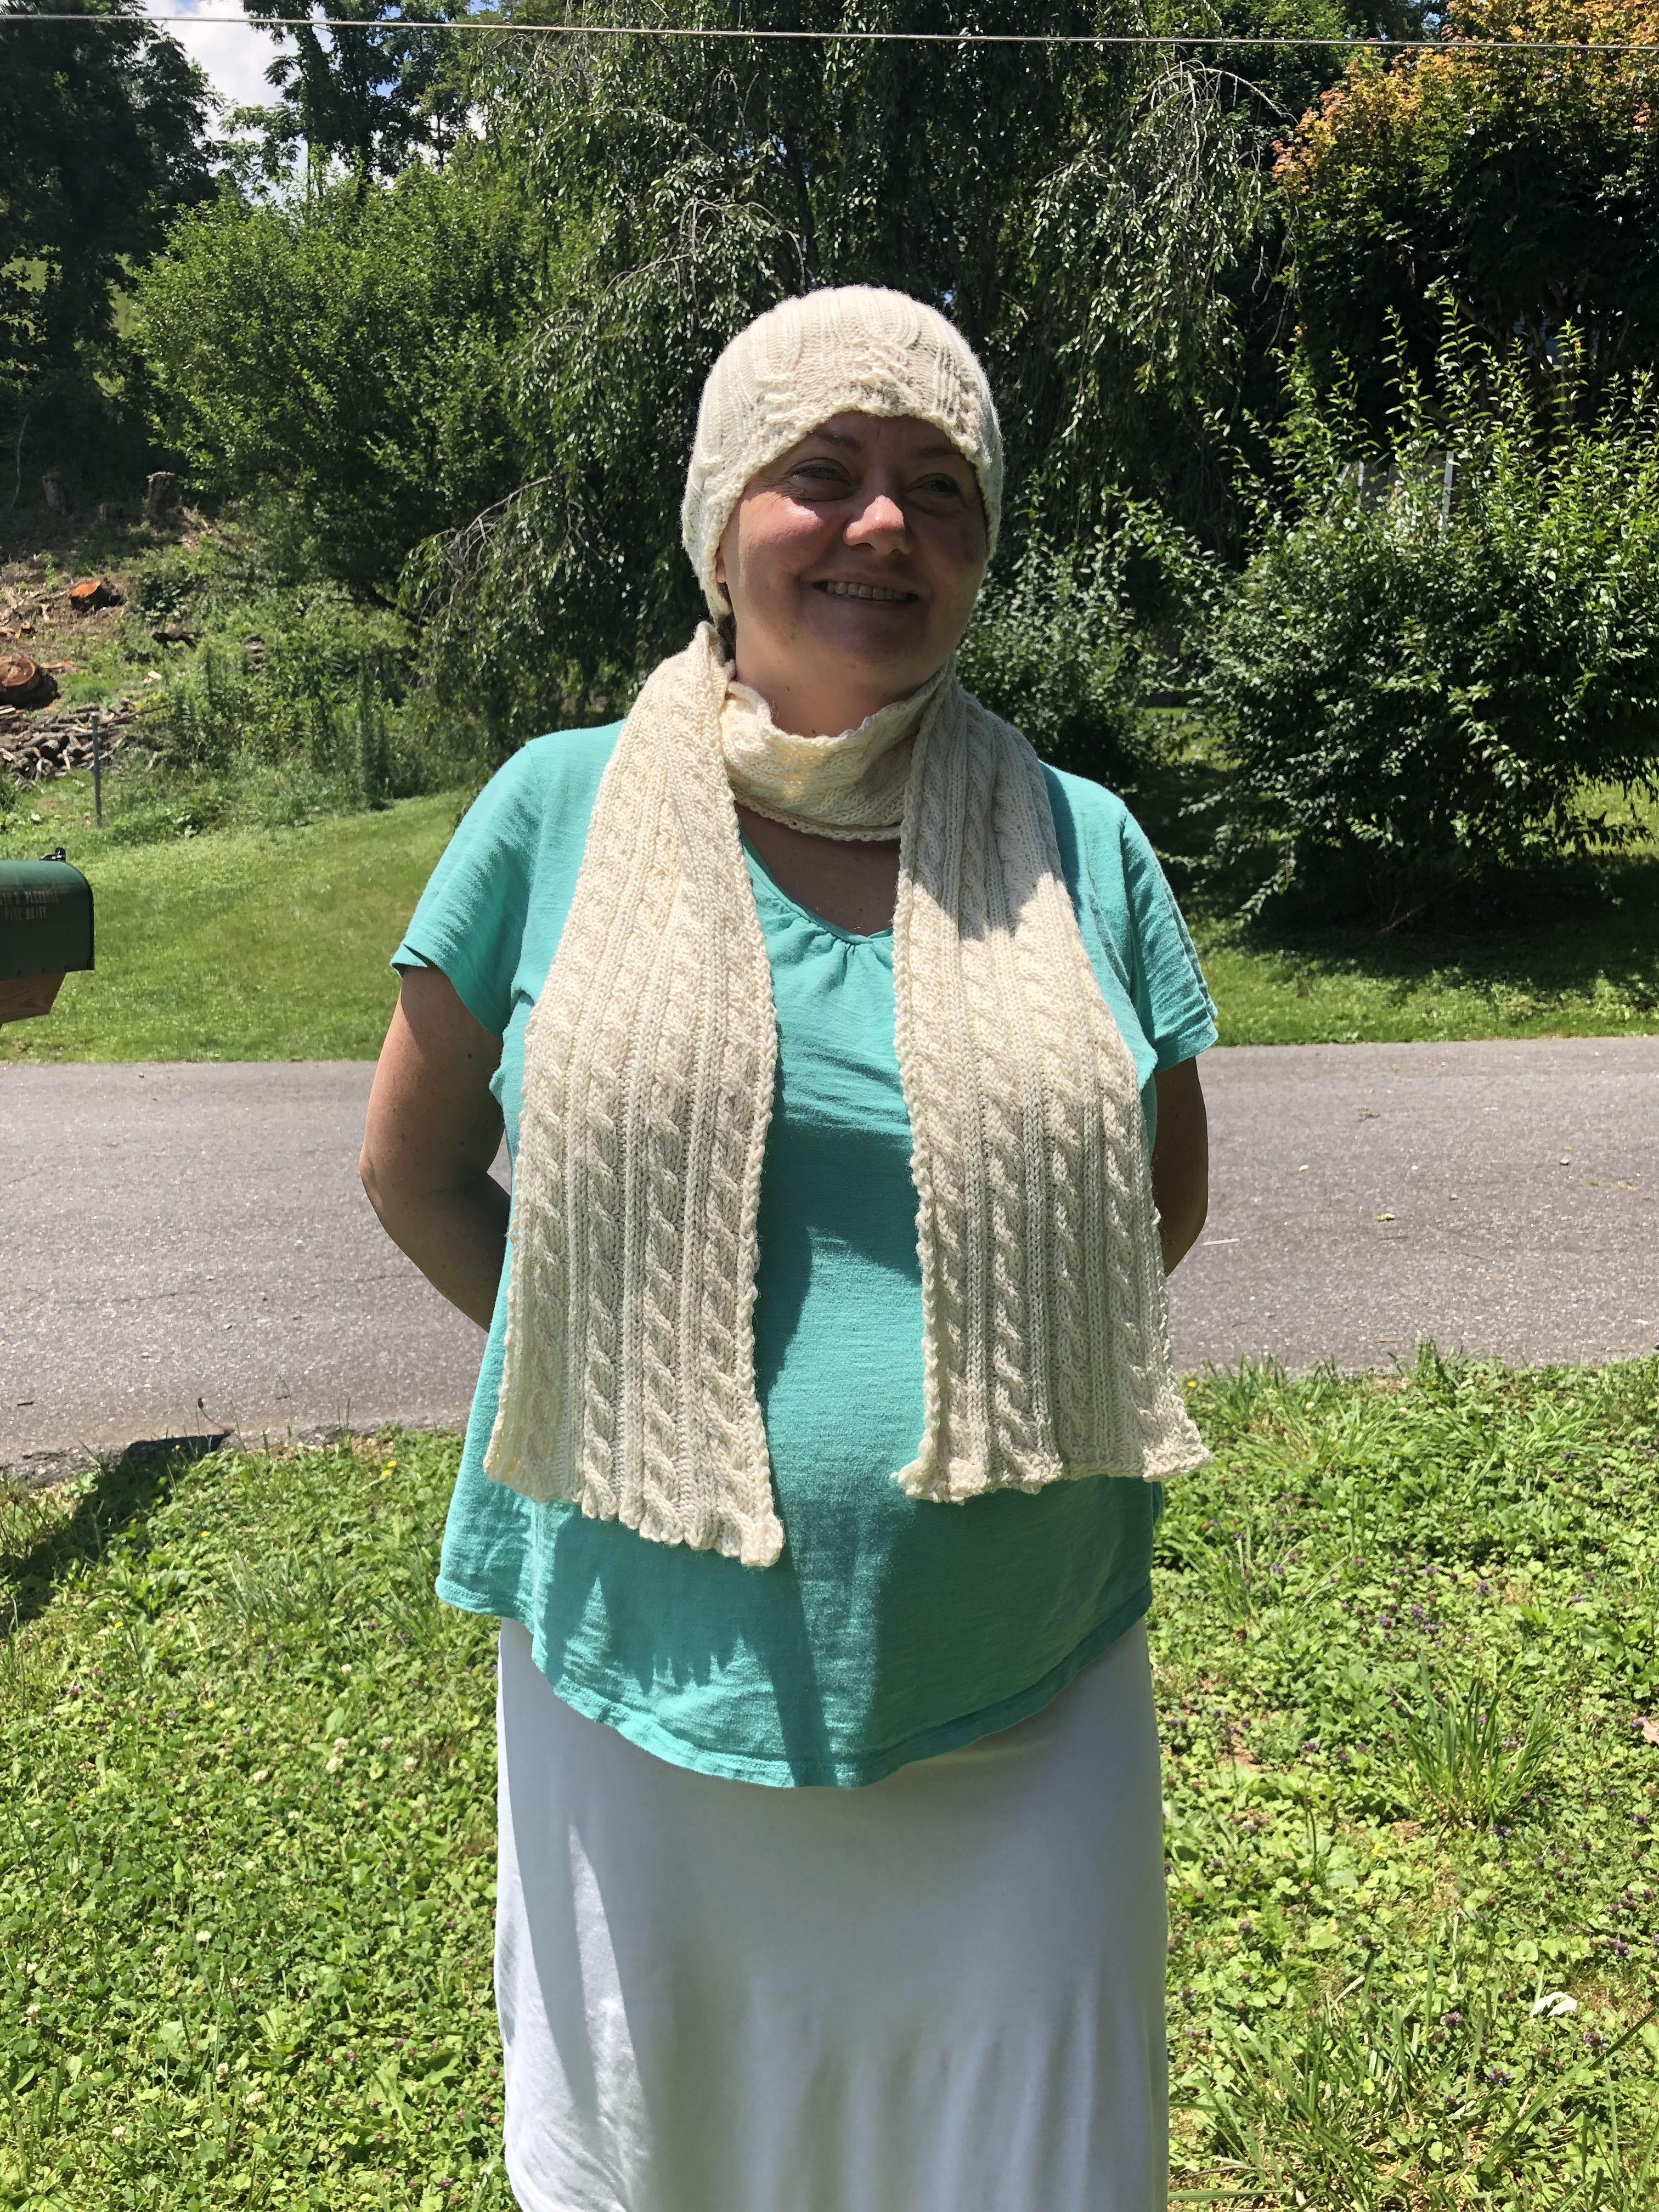
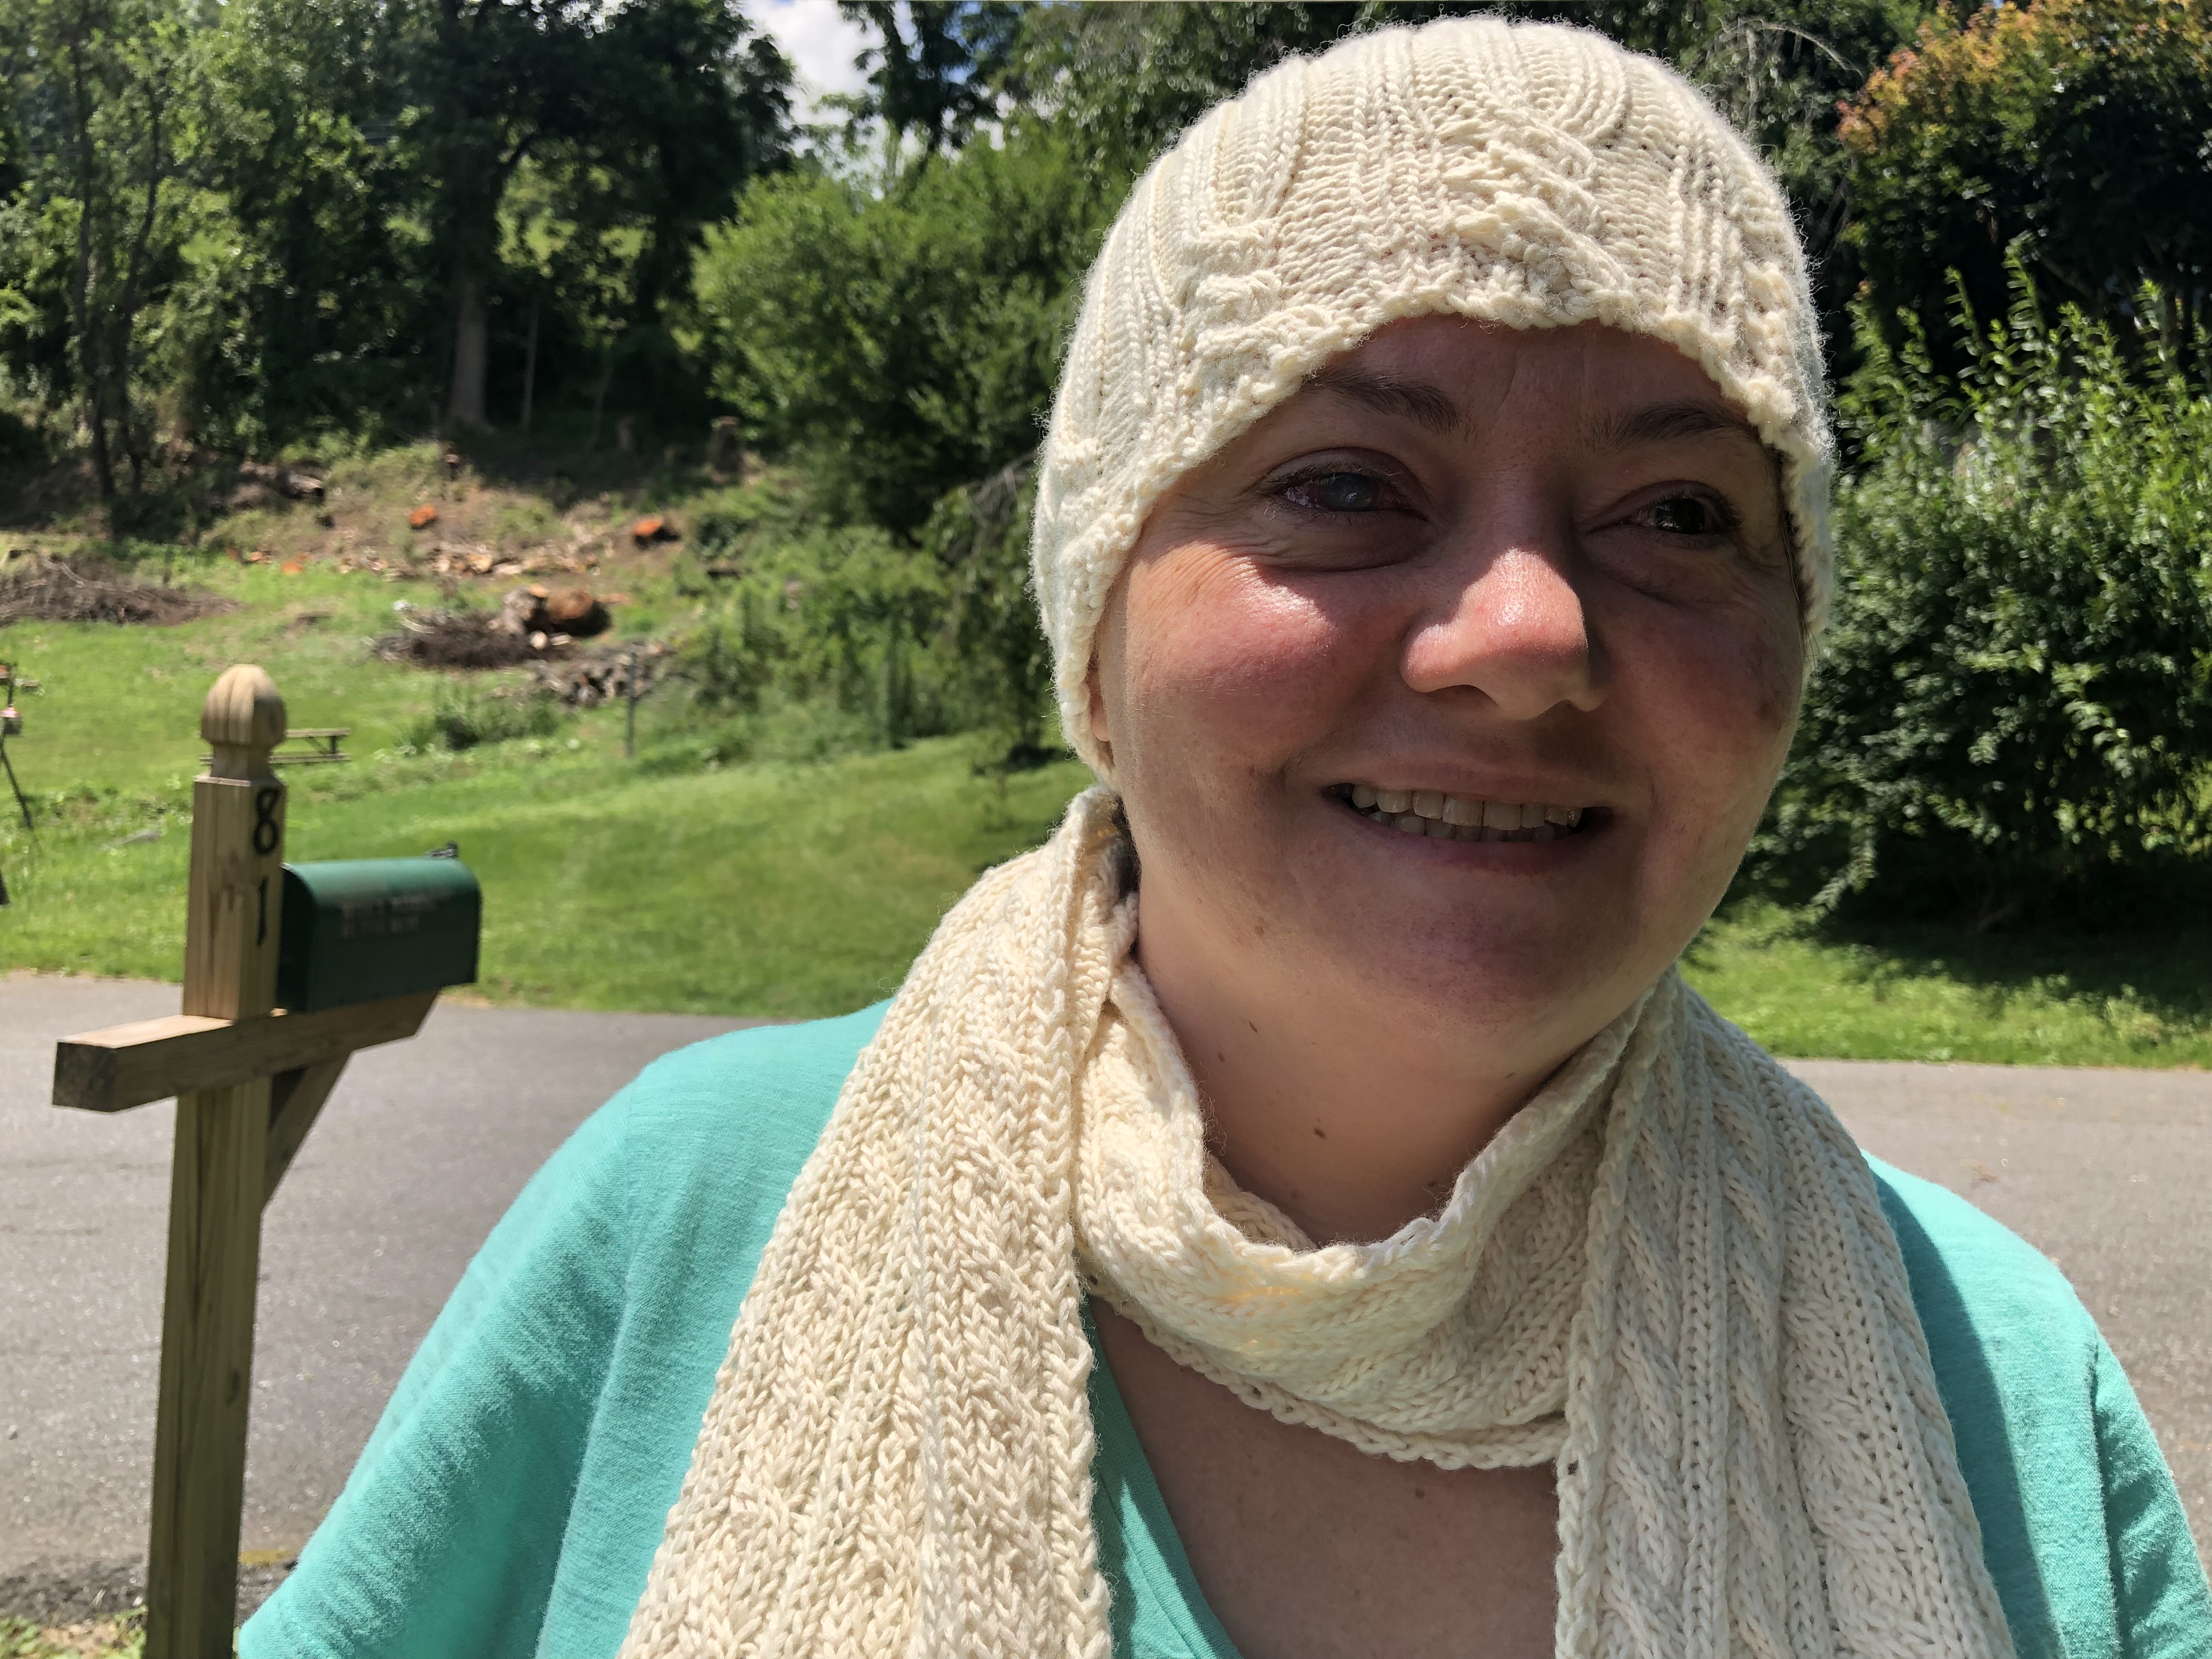
Knitting is one of the few areas of my life where I regularly come across metric sizing. While needle sizing and patterns usually include both measurements, there are times when I have to convert back to the US system because the pattern designer only uses metric measurements, and I can’t easily think in millimeters or centimeters. The conversion is fairly easy, with 1 inch = 2.54 cm, but I have recently started to get annoyed with using the US system for needle sizing because the conversion is not as simple.


IN the United States, the numbers that indicate needle sizes are basically arbitrary, indicating nothing more than that if you have a smaller number, you have a smaller needle. They are standardized to the Metric system, which is great, but why we don’t just use the actual metric sizing when we talk about needles is beyond me. I automatically began thinking of needles in the US sizing when I began knitting, and even though the Metric sizes are almost always listed in conjunction with the US sizes, it is still difficult for me to convert my thinking. Because of this, I decided that might help to begin memorizing the metric sizes for needles to make my knitting life a little easier. When you actually take time to compare the metric sizes to one another, it is a very consistent progression, and I’ve found that it has strengthened my understanding of needle sizes.


To help, I made an accessible PDF of Metric/US conversions that are relevant to knitting and crochet which you can download here if it would be helpful for you. For convenience, the information in the PDF is also included below.


Quick Length Conversion


1 inch = 2.54 Centimeters


Divide centimeters given by 2.54 to determine inches.


Multiply inches given by 2.54 to determine centimeters.


Knitting Needle Sizes


US Sizes Metric Sizes
0 2 mm
1 2.25 mm
1.5 2.5 mm
2 2.75 mm
2.5 3 mm
3 3.25 mm
4 3.5 mm
5 3.75 mm
6 4 mm
7 4.5 mm
8 5 mm
9 5.5 mm
10 6 mm
10.5 6.5 mm
10.75 7 mm
11 8 mm
13 9 mm
15 10 mm


Crochet Hook Sizes


Note that some brands might vary slightly, so be sure to check the sizing for your particular brand of hook for accuracy.


US Sizes Metric Sizes
B 2.25 mm
C 2.75 mm
D 3.13 mm
E 3.5 mm
F 3.75 mm
G 4 mm
H 5 mm
I 5.5 mm
J 6 mm
K 6.5 mm
L 8 mm
M 9 mm
N 10 mm


Palindrome Scarf and Hat

Photo of me wearing the Palindrome Hat and Scarf with green trees in the background - The scarf and hat are off-white with cables and ribbing.


Since it is summer, it is obviously the perfect time to finish a knitted gift that can only be worn in the winter. I cast on the Palindrome Hat in December of 2017, thinking that I would finish it, along with the matching scarf, while it was still cold enough to wear it in the winter of 2018. That didn’t happen, and it wasn’t ready for the next winter either. But, it is finally done, and my friend will not go another winter season without her very own hand knitted hat and scarf.


The first thing that caught my attention about this pattern was the name. As an English major, I am always interested in names and descriptions referring to anything remotely literary. As the pattern designer notes on her page, a palindrome is the same forwards and backwards, making the name appropriate for anything reversable. Palindrome is a free pattern with reversable cables on the scarf and hat that are combined with all over 2X2 ribbing for a casual and classic look that I really like. For the hat and scarf together, I used about 3.5 skeins of Cascade Venezia Worsted which is 70% Marino wool and 30% silk. It is a really nice yarn, and I can’t wait to se how it holds up with time.


I knit the hat for this set before I knit the scarf. I especially like this hat pattern because the 2X2 ribbing makes it very stretchy, and it will fit over your head even if you tend to wear your hair pulled up like I do. The knitting for the hat went fairly quickly, and then it languished alone in a bag while waiting for its matching scarf to be finished.


However, the scarf took longer. It turns out that knitting a scarf is an interesting adventure in monotony. I ended up using a locking stitch marker pinned to the edge of the scarf to counteract the illusion that I was getting absolutely nowhere. By moving the marker every time I added 10 or 12 inches to the scarf, my brain understood that the scarf was indeed getting longer, and it would eventually be done. Also, I don’t often think about how long scarves really are. Approximately 6 feet, in case you also don’t think about such things. This one turned out to be 6 ½ feet, which is nice because there is plenty of length to wrap and still drape nicely.


A six-foot rectangle presents a challenge to blocking that I hadn’t thought of before this. The last time I made a scarf was just after I began knitting and long before I had a clue about blocking. Soon enough, I learned the error of my ways. For a long time after that, I used 2×2 exercise mats for blocking, but I decided to retire those and buy two sets of knitpicks blocking mats a few years ago. Those are only 12 inches square, which gives you more options when you lay them out. I lined up seven mats on a diagonal on my bed because small children and a dog make using the floor a bad idea in my house. I didn’t pin the scarf because I don’t want to stretch it, only to make sure it dries flat and strait. Just for kicks, I put the hat on its own separate square. Using the smaller mats really made me appreciate having the right tools for the job, and I might just stop resenting the storage space the mats take up in my closet.


I am pleased with the way this project turned out, and if you are interested in knitting this scarf and/or hat, follow the links below.


Link to Palindrome Scarf Pattern

Link to Palindrome Hat Pattern

Link to my Palindrome Project Page on Revelry


Close up photo of me wearing the Palindrome Hat and Scarf with green trees in the background - The scarf and hat are off-white with cables and ribbing.

The Allusive Finished Object

For most knitters, and I think most people, there is a completion rate that is needed to feel like the activity being pursued is valid or worth the time that is put in to it. In other words, if I don’t finish anything, I don’t feel like an accomplished knitter. The needed completion rate varies with each person, and for me, it varies with time. At the moment, I am 100% certain that I am choosing the wrong projects because I feel like I am getting exactly no where with my knitting.


The first problem seems to be that I’ve cast on approximately 18 fingering weight sweaters and cardigans. Well, only 2, and another with DK yarn with a small gauge, but it seriously feels like 18. These sweaters are going to be wonderful when I finish them, but the knitting time for a fingering weight sweater is probably twice that of a worsted weight version.


Rose Cardigan

Soft Texture Pullover

Windswept Cardigan


In an effort to remedy this, I am making a cardigan for my son with bulky yarn. He is smaller, and the yarn is bigger, so it will take less time, right? Yes, but he has grown since I bought the yarn, and I am worried that I won’t have enough yardage to finish the sweater. Between worrying about running out of yarn and the need to sit by my computer when I work on it so that I can follow the chart, the sweater still isn’t finished. If I wait much longer, he is going to grow again.


Urban Hiker Cardigan


And, don’t forget about that beaded shawl that I was making great progress on until I had to stop because there was some crazy mistake that I needed help fixing. It has been fixed and waiting on me to work on it for months now. The problem with that one is that it is now taking something like an hour to knit one row, involving a whole extra level of motivation to pick it up.


Stockinette Haruni Shawl


On top of all that, two of the sweater projects have mistakes that I have to fix before I can continue the knitting. They are not major mistakes, I just don’t want to take the time to do the least fun part of knitting. At some point, I will though. In the meantime, I think I need to find a few quicker knits to balance out the more long-term projects.

New Facebook Page and Group

I have set up a new Facebook Page and Group. They are works in progress, but please go ahead and follow or join as you like!


Follow Working Out Kinks and Fingering Yarn on Facebook to get notifications when we post to the blog!


The new group is here: Facebook group for blind knitters and crafters. This group will mostly be restricted to blind and low-vision crafters, but a few sighted members may be approved on a case by case basis.

The Touch of Yarn

Contributed by Davey Hulse


Once again, Crystal and Ana have really honored me by asking that I update my article about my book “The Touch of Yarn, Beginner Knitter’s Primer”, copyright 2009.


The first question you should be asking is:  Are you blind or just another sighted author trying to teach us something.  I’m totally blind and have been since grade school.  So, I’m one of us.


Most people ask why I wrote it, and the simple answer is:  Because when I started knitting around Labor Day of 2007, I couldn’t find a set of instructions or book that really spelled out each step in absolutely clear terms.  How do you hold the needles?  How do you control the yarn?  What’s a stitch?  Where do I set the ball of yarn to keep it under control?  Oh, and what’s a ball of yarn?  The stuff in the store looks more like a tube or a disk!


So, once I picked enough brains and did enough trial and error, I got the basic skills under my belt.  Then as new people joined our blind knitter group, I started trying out my skill at explaining things is simple, straight forward language so that there couldn’t be any mistake what I meant.  It worked.


And, so, the Touch of yarn was born.


The other thing was that in all the instructions, no one gave any real guidance about sorts of projects that would bring success quickly, and I know that for myself if I don’t have success pretty quickly, I get frustrated.  That’s why every chapter and lesson has its own project that can be done within a couple or three hours, long enough to learn the skill but quick enough so that the project is done and the student can move on.


I’d watched many first-time knitters take on a scarf with ordinary worsted weight yarn on medium sized needles.  That’s a project that is somewhere around nine or ten thousand stitches.  When a person is just learning it’s going to take a minute or so for every five or six stitches.  Fifteen hundred minutes or twenty-five hours is way too long for a first project.  No wonder in many of the bags of yarn I buy at the thrift store there are obvious scarf projects done by beginners.  They get bored and frustrated and give up.


Before I started writing the book, I thought my audience was going to be only low vision and blind knitters.  But when I started having friends and family use the lessons, my sighted family members were really excited.  My daughter wrote in her blog that the typical lesson book with all its pictures just confused her and that for the first time knitting instructions were making sense.  A special ed teacher who had also been a mentor for a youth knitting guild was extremely complimentary and said that she wanted to use it for her sighted kids.


So, what can you learn from the book?  And, what kinds of projects can you get done?


It will take you all the way from buying your first supplies and knitting a piece of fabric about 4 by 4 inches (10cm by 10cm) through what I call advanced beginner skills.  Can you knit up a fancy scarf?  Yes.  Can you knit up a sweater using cables?  Yes.  Can you sew stuff together?  Yes.  Can you fix things when you make mistakes?  You bet.


And, there’s enough in the book that if you are adventurous and creative, you can even take a pattern from the Internet and modify it to make it truly your own thing of beauty.


I’m not much of a self-promoter and it feels awkward for me to sort of hawk my wares to you, but I’d really love you to be able to knit and to have the sort of success that I’ve had.  At my granddaughter’s third birthday I gave her a hooded sweater that I had knit up.  It was just as gratifying to hear the adults in the room muttering, “You made that,” as it was to have the little sweetie put it on, say “It fits,” and come over and hug me.  Also, when my Mom suffered a heart attack, I knit up an afghan and got it to her for comfort and her naps during her recovery.  Later she said she used it every day.  I knit my Dad a shrug to keep his shoulders warm.  He used it up until his recent passing.


And, of course, I can’t count the number of smiles I’ve had as I feel one or another of the many scarves and shawls I’ve made my wife as she wears them.


So, come along and join me in this wonderful, addictive and creative art form.


Davey Hulse, Salem, Oregon


Ordering The Touch of Yarn, A Beginner Primer


Pick a format:


Hard Copy

Print: $25

8.5 by 11 Braille (2 volumes): $30

11 by 11.5 Braille (one volume) $25


Electronic: $20 each

MS Word

PDF

.brf for 8.5 by 11 (2 files)

.brf for 11 by 11.5 (1 file)


Ordering process:


I use PayPal.  My account is:


daveyhulse@gmail.com


Deposit the money into that account, then email me with your choice of format.


If you want hard copy, I’ll need a physical address.


If you want an electronic copy, please specify which one.


When I get notification from PayPal that the money has arrived, I’ll begin processing the books.


Thank you for your interest in my book, and happy knitting.

Davey


A New Knitting and Blogging Beginning

When working on this blog a few years ago, there came a point where I felt, and I think Ana did to, that we had covered the majority of the basics of knitting for blind crafters, and we were going to have to begin thinking of a different type of material to keep contributing to the blog. Around this time, I went back to college, and life suddenly became much busier. Sadly, writing for the blog was the ball I dropped in the juggling act of life. The good news is that we all tend to go back to things we love doing, and I have wanted to get back to writing about knitting. I also find myself in that limbo between graduation and landing a job that plagues so many students, so this is a great time for me to refresh the blog and begin adding new content.


I have spent the last 6 years or so being a full-time college student, so between that and being a mom and wife, my knitting has taken a backseat to the more stressful things in life. One of the best things about the past year, which has been a bit less hectic, has been getting back to knitting. Now I am in that all too familiar knitting situation – too many works in progress leading to nothing ever getting finished. In some ways, it is like I am still finding my rhythm again. I am working on way too many sweaters and cardigans on light weight yarn and small needles, which is not helping the situation at all. Over the next few weeks, I will post about the projects I am working on, and hopefully roll out some new ideas meant to help blind people who are learning to knit or crochet.


One of my ideas is a YouTube channel devoted to video tutorials for people who can’t see the videos well or at all. The videos would essentially be verbal descriptions of knitting skills much like our previous blog posts have been written descriptions. There are a lot of video tutorials out already, but I find most of them very frustrating because the person speaking in the video usually assumes that the viewer can see what he/she is doing in the video. At the same time, it is easier to listen to a video and do the steps than it is to try the new technique while reading a blog post. I think the answer is videos based more on verbal descriptions. Most likely, there will still be a visual component, but it won’t be required that the listener see the screen to use the video.


Please let me know in the comments if you would be interested in video tutorials for blind and low-vision crafting. We are also open to any ideas about how we can make this blog even better for our readers, so give us any ideas you have.

The Problem with Unfinished Objects

Two falls ago, I made a pair of fingerless gloves. Well, that’s not true. I started a pair of fingerless gloves.

I began at the fingers and bound off at the cuff. But when I was more than halfway through the mate, I decided the bind off wasn’t stretchy enough, so I frogged the mate and frogged most of the cuff of the first glove.

Then last fall, when I was halfway through the mate for the second time, a friend asked me how to close the holes at the bases of fingers. I’d put the gloves down so long ago that, in the interim, I learned how to make no-hole gloves, but I didn’t remember how exactly I’d done it, and I noticed my fingerless gloves would benefit from the new technique, so I frogged both again to start over—again.

Now the gloves are done. The first one is bound off loosely and so is the second. But the second isn’t bound off completely. I’ve got a circular needle in the lone loop that is left after a bind off.

The needle has been there since Christmas or maybe January. My plan was to write out the no-hole instructions and send them together with the gloves to my friend, who has moved to a place with snow. But I haven’t. I keep thinking my instructions aren’t as clear as they should be, keep thinking the gloves can be a little better, keep thinking I don’t have a box the right size or tissue paper to wrap them in. I keep waiting for the quality I know I’m capable of, for the perfect gifts to cheer a friend, but what I’m really doing is putting off the moment my friend can warm her hands.

Just Hangin’

The other day, my mom, who is my crafty accomplice, was at one of those Dollar Plus stores, the ones that sell a little of everything, from the groceries and toilet trees you use everyday to the gadgets and containers you can’t find anywhere else. She found a perfect holder for the spare yarn that can’t be put away because it’s being used in a current project, but probably shouldn’t be cluttering up the coffee table or CD rack.

According to the label, the container is meant to hold stuffed animals and other small toys. It’s shaped like a drum or the sort of pan you boil vegies in. Well, it’s shaped like two, one stacked on top of the other. It’s made out of a fine netting or mesh, the stuff collapsible laundry hampers are made out of, and to give it shape, it’s got three plasticky wire rings, one at the top, one at the bottom, and one in the middle, where the two drums or pots meet. Each of the drums or pots has a hole in the side. This is where you reach in to fill the container with yarn or to pull another ball out. There’s a loop on the top surface for you to hang the contraption.

So far, it seems to be working, though I miss the lovely yarn accent in my decor.

Knitpicks Color Descriptions

Earlier today I was doing some yarn browsing online. I was technically supposed to be getting a couple balls of yarn for a baby blanket I’m making. It looks like I’ll be about 3 or 4 balls short in two different colors. Knitpicks didn’t have any more of one color I needed. After some venting and measuring I decided I could still make the blanket with the yarn I have. It will just be a bit smaller.

Being on the Knitpicks website is never a good thing for me. Well, I think it’s a good think but my checkbook might not agree. So, while I was browsing through the Felici fingering self-striping sock yarn I was feeling mildly irritated. I was going to have to call a friend and get her to describe the colors for me. Seeing as this is the same friend I just vented to about the shortage of blanket yarn I didn’t really want to bother her. We’ll not even mention the fact that I’m not supposed to be buying yarn for the rest of 2012. Then I decide to click on the View Larger Image link for a color way called Time Traveler. I’m a big science fiction fan so the name appeals to me. I’m thinking in my head that there just might be more information about the yarn. Probably not, but just maybe. I get the surprise of the day. They have color descriptions of each color way. How totally awesome is that? I checked a couple of others to see if they all had it and they do. Then I look back over the information right before the list of colors. Lo and behold if I slow down just a little there’s a line that says “Click on each thumbnail to see larger images and color descriptions.” Imagine that. I have no idea how long these descriptions have been there. I’m pretty sure they weren’t there when I first started shopping at Knitpicks but who knows. This will make my yarn shopping so much more informed and even more fun. Like I need another reason to buy more yarn. I have a feeling that Time Traveler will be in my stash very soon.

Plano Organizer

A few of the knitters I know have been using little plastic organizers for their knitting accessories. I thought they were just really organized knitters and that was too much for me. I would just continue using my little bag system. This involved putting all the little bags of markers and things into a larger little bag along with all the other little odds and ends I need. So of course I’m spending a few minutes at a time digging through this little bag to find one or another of these little things. I thought I was being organized by having everything in one place but now I know the error of my ways.

Last week I decided to check the little plastic organizers out at Wal-Mart. The first nice surprise was that they were only a little over $3. I just love prices like that. Especially when I’m not entirely sure I’m going to like something. I still open one up in the store and investigate. The organizer has two identical sides. If you opened both lids they would open opposite to each other like the front and back covers of a book. I wouldn’t open it like this though; all your stuff would fall out. Each side has 5 long sections and there are little dividers you can insert wherever you want and create up to 10 sections. The whole thing is about 6 inches by 4 inches and a little over 2 inches deep. Not really too large for a knitting bag. I should also mention that these handy little organizers can be found in the fishing section at Wal-Mart. I did have some trepidation about having my husband take me into this section but he behaved himself and it didn’t take us long to get in and out.

After putting the baby to bed and feeding the rabbits and all those things that just have to be done before you can relax at night I was finally able to sit down to see just how organized I could be. At first I was disappointed that my folding scissors wouldn’t fit. I left the center slot open just for them. Then my husband pointed out that the side slots were longer because of the space needed for the latches to close the lid. So I moved the open slot to the side and the scissors fit. I put the things I use the most in one side and put a braille label with my name on it on that side just so I would know which side was which. They are identical otherwise. It’s made of clear plastic so the contents can be seen but that doesn’t help me. I put the less often used things in the bottom. The only things I couldn’t put in were things like larger cable needles crochet hooks and stitch holders. These went into another plastic case and I have everything I could possibly need all together.

Once I got everything where I wanted I really started to like this new organizing plan. I can just put the organizer on the table and leave it open during those times when you find yourself needing a lot of little odds and ends. For me, that’s when I start and finish a project. One major downfall I can imagine is leaving the organizer open beside me on the couch and forgetting it. It would be entirely too easy to sit down in the wrong place and spill all of the nicely organized stitch markers and things. I feel confident that this is bound to happen one day. It really seems inevitable for me. I just have to remember to close it when I’m through using it. For now, I’m just going to enjoy being super organized. At least with my knitting; we won’t talk about the rest of the house.

Previous Older Entries